Learn how to pack a cooler for camping with these efficient tips that will keep your food fresh and organized. By following these expert recommendations, you can maximize space and extend the chill time of your cooler during your outdoor adventures.
Key Takeaways:
- Properly size your cooler for optimal performance, aiming for a recommended ice-to-content ratio of at least 2:1.
- Consider using a two cooler system, one for food and one for drinks, to keep perishable food items colder and safer for longer.
- Prepare your cooler before your camping trip by acclimating it to a cooler temperature, cleaning it thoroughly, and pre-chilling it with cold water or sacrificial ice.
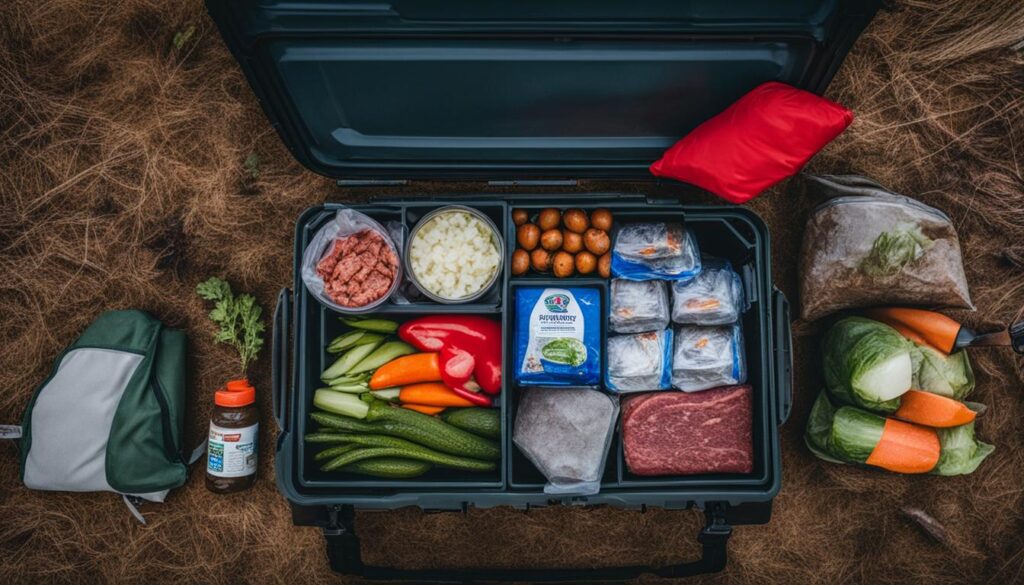
- Optimize space in the cooler by pre-chopping vegetables, removing excess packaging, and transferring food items to watertight containers.
- Use block ice, ice cubes, or reusable freezer packs to keep the contents of the cooler cold. Pack the cooler in a specific order, starting with a layer of block ice, followed by food items in reverse order of use.
- Organize items by meal and keep beverages separate from food to reduce open-cooler time.
- Minimize the number of times you open the cooler to preserve cold air, and consider repurposing the cooler as storage for camping gear after the trip.
Selecting the Right Cooler
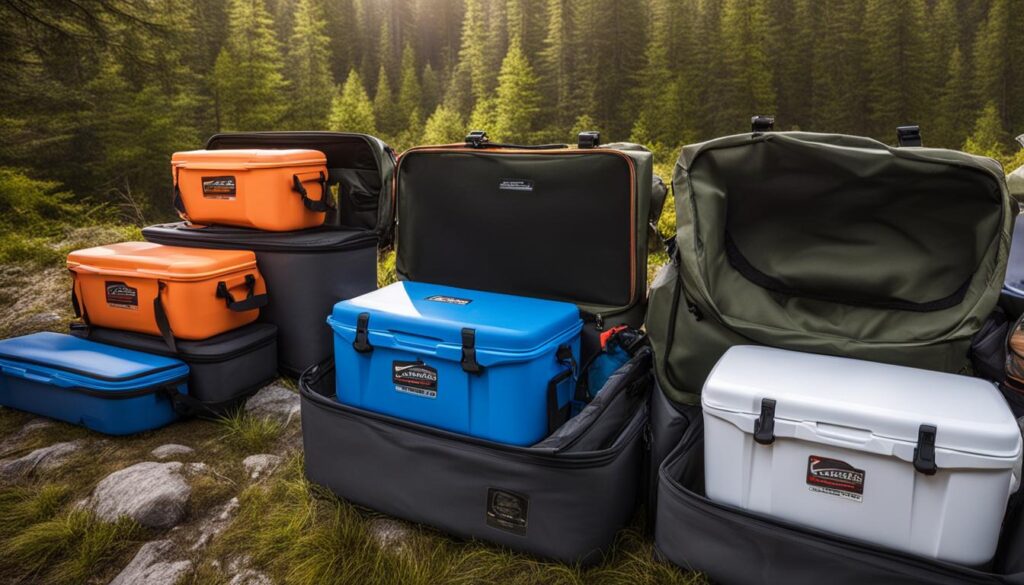
When packing a cooler for camping, it’s important to start with the right cooler. Consider upgrading to a newer, better-insulated model that features improved insulation and construction methods. Properly sizing your cooler is also crucial for optimal performance, with a recommended ice-to-content ratio of at least 2:1. Don’t get too hung up on brand names, as there are many good products on the market. Additionally, consider using a two cooler system, with one cooler dedicated to food and the other for drinks, to keep perishable food items colder and safer for longer.

Key Considerations for Selecting a Cooler
- Insulation: Look for coolers with enhanced insulation materials and construction methods to ensure better temperature retention.
- Size: Choose a cooler that suits your needs and the length of your camping trip. A larger cooler may be necessary for extended stays.
- Ice Retention: Opt for coolers that have shown good ice retention capabilities in customer reviews or product specifications.
- Portability: Consider the weight, handles, and wheels of the cooler if you need to transport it over long distances.
- Durability: Look for coolers made from sturdy materials that can withstand outdoor conditions and potential rough handling.
“Investing in a high-quality cooler is a wise decision for camping enthusiasts. A well-insulated and properly sized cooler can make a significant difference in keeping your food fresh and drinks cold, enhancing your overall camping experience.”
Remember, the right cooler can be a game-changer when it comes to keeping your food and beverages cold and safe during your camping adventures. Now that you have selected the perfect cooler, let’s move on to the next section to learn about preparing the cooler for packing.
| Cooler Features | Benefits |
|---|---|
| Enhanced Insulation | Improved temperature retention |
| Proper Sizing | Optimal ice-to-content ratio for longer cool time |
| Two Cooler System | Separate storage for food and beverages |
Preparing the Cooler
Before your camping trip, it’s important to take the necessary steps to prepare your cooler. By properly preparing your cooler, you can ensure that it starts off at a cold temperature and maximizes its performance throughout your camping adventure. Here are some essential cooler packing hacks for camping:
- Bring the cooler inside: Start by bringing your cooler inside your home a day or two before your trip. This allows it to acclimate to a cooler temperature, making it easier to maintain the desired coldness once it’s filled with food and ice.
- Clean it thoroughly: Use a disinfectant spray and a clean cloth to wipe down the interior and exterior of your cooler. This helps remove any dirt, bacteria, or odors that may be present, ensuring a clean and fresh environment for your food.
- Pre-chill the cooler: Consider pre-chilling your cooler by filling it with cold water and/or sacrificial ice a few hours before packing. This helps lower the internal temperature of the cooler and creates a cold base for your perishable items.
Following these cooler packing hacks for camping will help you start your trip with a well-prepared and efficient cooler. Now, let’s move on to the next section, where we’ll discuss how to properly prepare the food for packing.
Tips for Preparing the Cooler:
| Type of Preparation | Benefits |
|---|---|
| Bringing the cooler inside | Allows the cooler to acclimate to a cooler temperature |
| Cleaning the cooler | Removes dirt, bacteria, and odors |
| Pre-chilling the cooler | Lowers the internal temperature and creates a cold base |

“Properly preparing your cooler is the first step to packing a cooler for a camping trip. By following these simple yet effective tips, you can ensure your cooler is ready to keep your food fresh and cold throughout your outdoor adventure.”
Preparing the Food
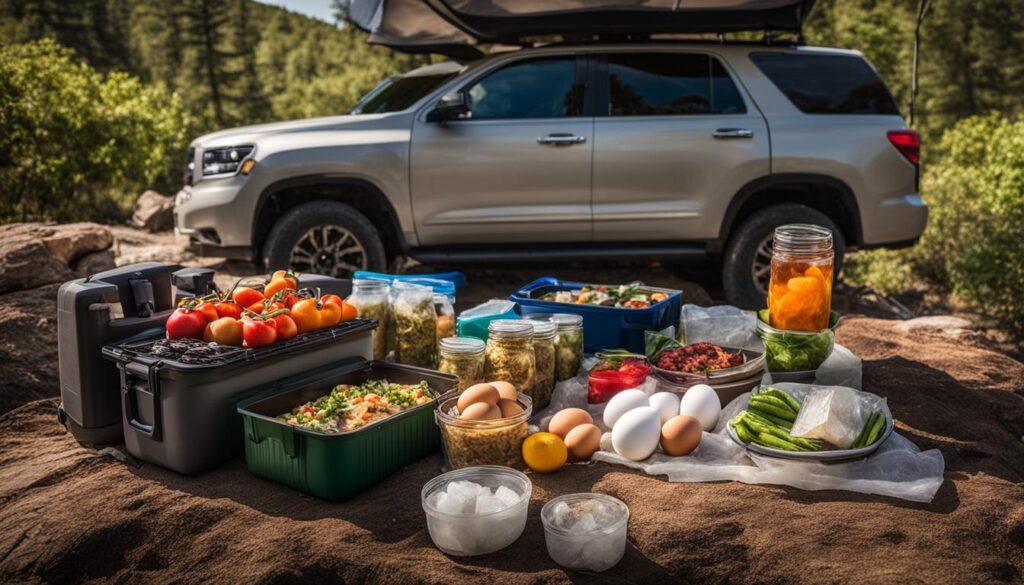
When it comes to packing a cooler for camping, organizing your food properly is key to maximizing space and keeping your meals fresh. Follow these tips to ensure your cooler is efficiently packed and your camping food stays cool and delicious throughout your trip.
- Pre-chop vegetables and prepare marinades ahead of time: By prepping your ingredients in advance, you can save space in your cooler and reduce the need for bulky kitchen utensils at the campsite. Chop vegetables into bite-sized pieces and store them in ziplock bags or airtight containers. Likewise, marinate meats and seafood in advance and transfer them to sealed containers to save space and prevent cross-contamination.
- Remove excess packaging: Many food items come in bulky packaging that takes up unnecessary space in your cooler. Before packing, remove excess packaging such as cardboard boxes or plastic wrap. Instead, transfer items to watertight containers or ziplock bags to keep them fresh and save space in the cooler.
- Freeze unused meat: If you have meat that won’t be used on the first day of your camping trip, consider freezing it. Frozen meat acts as an additional source of ice in the cooler, helping to keep other items cold. Plus, it will slowly thaw throughout your trip, giving you ample time to cook it during the later days.
- Refrigerate items before packing: It’s important to start with cold food items to maintain the cool temperature in your cooler. Refrigerate all items before packing to ensure they stay fresh and chilled. This includes perishable items like dairy products, deli meats, and any pre-made dishes.
By following these tips for organizing a camping cooler and packing your cooler for camping food, you can ensure a well-organized, efficient cooler that keeps your food fresh and delicious throughout your camping adventure.

Stay tuned for the next section where we’ll discuss ice preparation and the best practices for keeping your food cold in a camping cooler.
Ice Preparation
Ice plays a crucial role in keeping the contents of your camping cooler cold throughout your outdoor adventure. Whether you’re packing food or drinks, proper ice preparation is key to maintaining the chill and freshness of your items. Here are some tips to ensure your cooler stays cold:
- Choose the Right Type of Ice: While block ice is preferred for its slower melting rate, you can also use ice cubes or reusable freezer packs. Consider your needs and the duration of your trip when selecting the type of ice to use.
- Aim for the Right Ratio: To maximize your cooler’s performance, aim for an ice-to-content ratio of 2:1. This means using twice as much ice as the amount of food and drinks you’re packing. This ratio helps maintain a consistent cold temperature inside the cooler.
- Pack in a Specific Order: When packing your cooler, it’s important to follow a specific order to optimize the cooling efficiency. Start with a layer of block ice on the bottom of the cooler. This helps create a solid base of cold air. Next, arrange your food items in reverse order of use, placing the items you’ll need last on top. Finally, fill any air pockets with ice cubes to further insulate the cooler and ensure even cooling.
By following these ice preparation tips, you’ll be able to keep your food cold in your camping cooler and enjoy fresh and refreshing meals throughout your trip.
Expert Tip:
Remember to pack your cooler in a way that minimizes the need to open it frequently. This helps maintain a cold temperature and prolong the freshness of your food. Consider using two separate coolers, one for food and one for drinks, to reduce the frequency of opening the cooler.
Packing the Cooler
When it comes to organizing a camping cooler and packing it efficiently, following a specific order is key. By strategically arranging your items, you can improve the performance and organization of your cooler.
Start by placing a layer of block ice or frozen food items at the bottom of the cooler. This will help keep the overall temperature lower and provide a solid base for packing. Alternatively, frozen gel packs can also be used.
Next, pack the food items in reverse order of use. This means placing the items you’ll need last at the bottom and the items you’ll need first at the top. By doing so, you can easily access the items you need without having to dig through the entire cooler.
To minimize air pockets and maximize ice retention, fill any remaining space with ice cubes. This will help maintain a consistent temperature throughout the cooler and keep your food and beverages cold for longer periods.
It’s also important to keep your beverages separate from the food items. This makes it easier to access drinks without exposing the perishable food to warm air. Consider using a small cooler or insulated bag specifically for drinks.
Organizing items by meal can further reduce the time spent with the cooler open. Separate your food into individual ziplock bags or containers labeled for each meal. This way, you can quickly grab what you need without sifting through different items every time.
Cooler Packing Order:
- Layer of block ice or frozen food items at the bottom.
- Food items packed in reverse order of use.
- Fill remaining space with ice cubes.
- Keep beverages separate from food.
- Organize items by meal.
| Benefit | Tips |
|---|---|
| Improved Performance | – Layering block ice at the bottom keeps the overall temperature lower. – Packing food in reverse order of use increases accessibility. – Filling air pockets with ice cubes minimizes temperature fluctuations. |
| Better Organization | – Separating beverages from food reduces open-cooler time. – Organizing items by meal saves time and reduces hassle. – Labeling ziplock bags or containers ensures easy identification. |
Additional Tips and Tricks
When it comes to cooler packing for camping, there are a few additional tips and tricks that can make a big difference. One important tip is to minimize the number of times you open the cooler during your trip. Every time you open the cooler, warm air enters and cold air escapes, reducing the overall cooling efficiency. By planning your meals and snacks in advance and using portioned containers, you can easily access what you need without constantly opening and closing the cooler.
Another great hack for cooler packing is to use two coolers – one for food and one for drinks. This strategy not only helps to minimize the frequency of cooler access, but it also allows you to maintain the desired temperature more effectively. By keeping beverages separate from perishable foods, you can reduce the risk of cross-contamination and maintain a consistent temperature for your food items.
After your camping trip, don’t let your cooler gather dust! Repurpose it as a storage container for your camping gear. This not only saves space but also keeps your gear protected and readily accessible for your next outdoor adventure. Whether you need a place to store cooking utensils, camping accessories, or even extra clothes, your cooler can serve as a convenient storage solution.
With these additional tips and tricks, you can take your cooler packing to the next level. By minimizing cooler access, using separate coolers for food and drinks, and repurposing your cooler for storage, you’ll have a cooler that is efficiently packed for camping trips, keeping your food fresh, organized, and ready for enjoyment in the great outdoors.
FAQ
How do I pack a cooler for camping?
To pack a cooler for camping, start by selecting the right cooler that is well-insulated and sized appropriately. Prepare the cooler by bringing it inside to acclimate, cleaning it thoroughly, and pre-chilling it. Preparing the food involves prepping vegetables, removing excess packaging, and refrigerating items before packing. Ice preparation includes using block ice, ice cubes, or reusable freezer packs, and aiming for a 2:1 ice-to-content ratio. When packing the cooler, follow a specific order and organize items by meal to reduce open-cooler time.
What should I consider when selecting a cooler for camping?
When selecting a cooler for camping, consider upgrading to a newer model with improved insulation and construction. Make sure to properly size the cooler for optimal performance, with a recommended ice-to-content ratio of at least 2:1. You can also use a two cooler system, with one cooler for food and another for drinks, to keep perishable items colder and safer for longer.
How do I prepare the cooler for camping?
To prepare the cooler for camping, bring it inside to acclimate it to a cooler temperature, clean it thoroughly with a disinfectant spray, and consider pre-chilling it by filling it with cold water and/or sacrificial ice. This helps the cooler start off at a cold temperature and maximize performance.
What steps should I take to prepare the food for camping?
To prepare the food for camping, pre-chop vegetables and prepare marinades ahead of time. Remove excess packaging from food items and transfer them to watertight containers. Freeze any meat that won’t be used on the first day of the trip to act as additional ice. Refrigerate all items before packing to ensure they start off cold and maintain a cool temperature in the cooler.
What is the best way to keep food cold in a camping cooler?
The best way to keep food cold in a camping cooler is to use ice. Block ice is preferred for its slower melting rate, but ice cubes and reusable freezer packs can also be used. Aim for an ice-to-content ratio of 2:1 to maximize the cooler’s performance and keep food cold for longer.
How should I pack the cooler for camping?
When packing the cooler for camping, start with a layer of block ice or frozen food items on the bottom. Then, pack the food items in reverse order of use. Fill any air pockets with ice cubes to minimize gaps and maximize ice retention. Keep beverages separate from food and organize items by meal to reduce open-cooler time.
Are there any additional tips and tricks for packing a cooler for camping?
Yes, there are additional tips and tricks for packing a cooler for camping. Consider minimizing the number of times you open the cooler to preserve cold air. If possible, use two coolers – one for food and one for drinks – to reduce the frequency of cooler access. After your camping trip, repurpose the cooler as storage for camping gear to save space.

