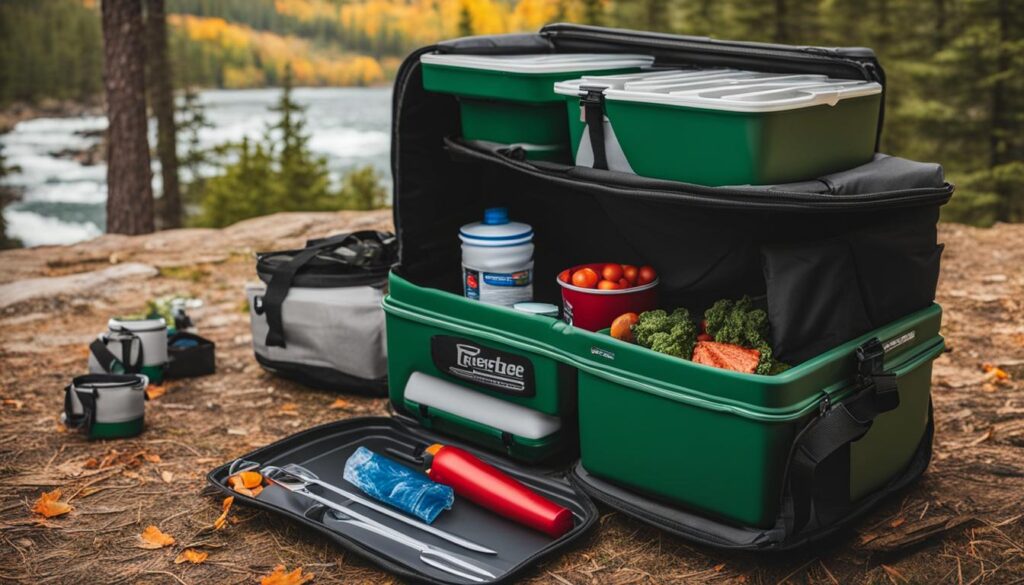
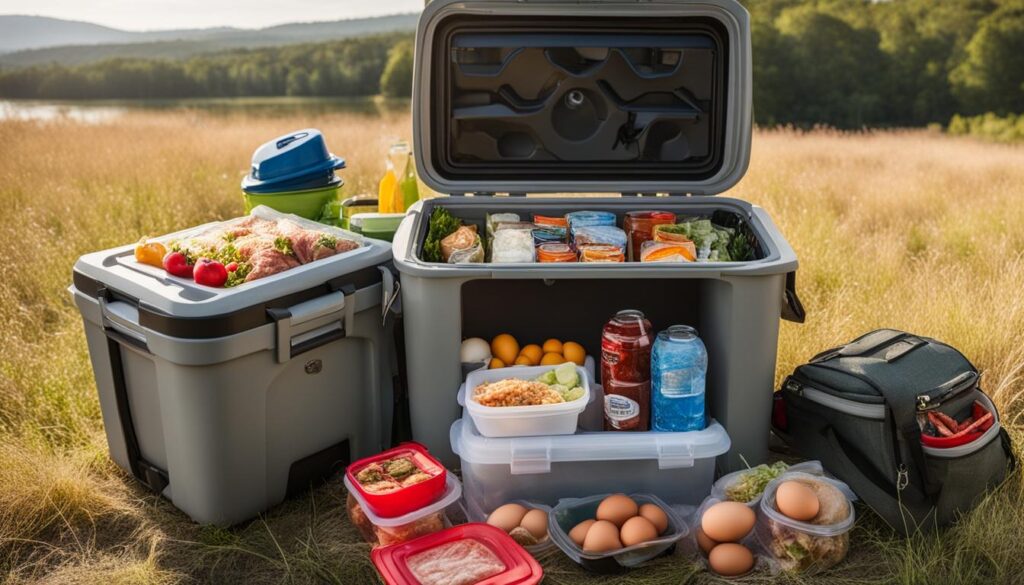
Packing a cooler for camping can be a challenge, but with the right tips and techniques, you can ensure that your food stays fresh and your drinks stay chilled throughout your camping adventure. In this article, I will provide you with efficient cooler packing tips that will help you maximize space, keep your items organized, and extend the lifespan of your ice.
Key Takeaways:
- Choosing the right cooler for your needs is essential for efficient packing.
- Preparing your cooler and food before your trip will contribute to better insulation and food safety.
- Block ice lasts longer than cubed or crushed ice in your cooler.
- Strategic packing, using ice cubes and organizing your items, will optimize cooler performance.
- Additional tips, such as minimizing air and limiting cooler openings, can further enhance efficiency.
Choose the Right Cooler for Your Needs
The first step to efficient cooler packing is selecting the right cooler for your needs. Consider upgrading to a newer, better-insulated model that features improved insulation, construction methods, and details like freezer-style gaskets and tighter fitting lids. Properly sizing your cooler is important for optimal performance, with an ice-to-content ratio of at least 2:1 recommended. Don’t get too hung up on brand names, as there are many good products on the market. Additionally, consider using a two cooler system, with one cooler dedicated to food and the other to drinks, to keep items organized and ensure food safety.
To help you make an informed decision, here is a comparison table highlighting the key features of popular coolers:
| Cooler Brand | Insulation Type | Gaskets | Lid Design |
|---|---|---|---|
| Yeti | Rotomolded Polyethylene | Freezer-Style | Tight-Fitting |
| RTIC | Rotomolded Polyethylene | Freezer-Style | Tight-Fitting |
| Pelican | Rotomolded Polyethylene | Freezer-Style | Tight-Fitting |
| Engel | Rotomolded Polyethylene | Freezer-Style | Tight-Fitting |
| Igloo | Ultratherm Foam | Gasketed | Hinged |
Remember, when choosing a cooler, prioritize features like insulation type, gaskets, lid design, and size that best suits your camping needs. Investing in a reliable cooler will enhance your camping experience by keeping your food fresher and drinks colder for longer periods of time.

Prepare Your Cooler and Food
Before your camping trip, it’s important to properly prepare your cooler and food. Follow these steps to ensure optimal freshness and food safety.
1. Bring your cooler inside early
Bring your cooler inside at least a day before your trip to allow it to cool down and reach the desired temperature. This will help your cooler start off cold and maintain low temperatures for longer.
2. Clean your cooler thoroughly
Prior to packing, give your cooler a thorough cleaning using a disinfectant spray. This helps eliminate any bacteria or residue that may have accumulated in the cooler, ensuring a safe environment for your food.
3. Pre-chill your cooler
A few hours before packing, consider pre-chilling your cooler by filling it with cold water or sacrificial ice. This helps lower the internal temperature of the cooler, allowing it to retain coldness more effectively.
4. Prep your food
To maximize space and organization, prepare your food before packing it in the cooler. Pre-chop vegetables, remove excess packaging, and transfer items to watertight containers to prevent any leaks or spills. If you have meat that won’t be used on the first day, freeze it beforehand to ensure it stays fresh.
5. Refrigerate non-frozen items
Ensure that all non-frozen items are properly refrigerated before packing them in the cooler. This helps maintain a consistent temperature within the cooler and prevents any unwanted spoilage during your camping trip.

| Preparation Steps | Benefits |
|---|---|
| Bring your cooler inside early | – Cooler starts off cold – Maintains low temperatures |
| Clean your cooler thoroughly | – Eliminates bacteria and residue – Ensures food safety |
| Pre-chill your cooler | – Lowers internal temperature of the cooler – Improves cooling efficiency |
| Prep your food | – Maximizes space and organization – Prevents leaks or spills |
| Refrigerate non-frozen items | – Maintains consistent temperature – Prevents spoilage |
Preparing Ice for Your Cooler
The ice you use in your cooler plays a crucial role in keeping your items cold. Choosing the right type of ice can extend the lifespan of your cooler and ensure optimal cooling performance.
Block Ice for Long-Lasting Cooling
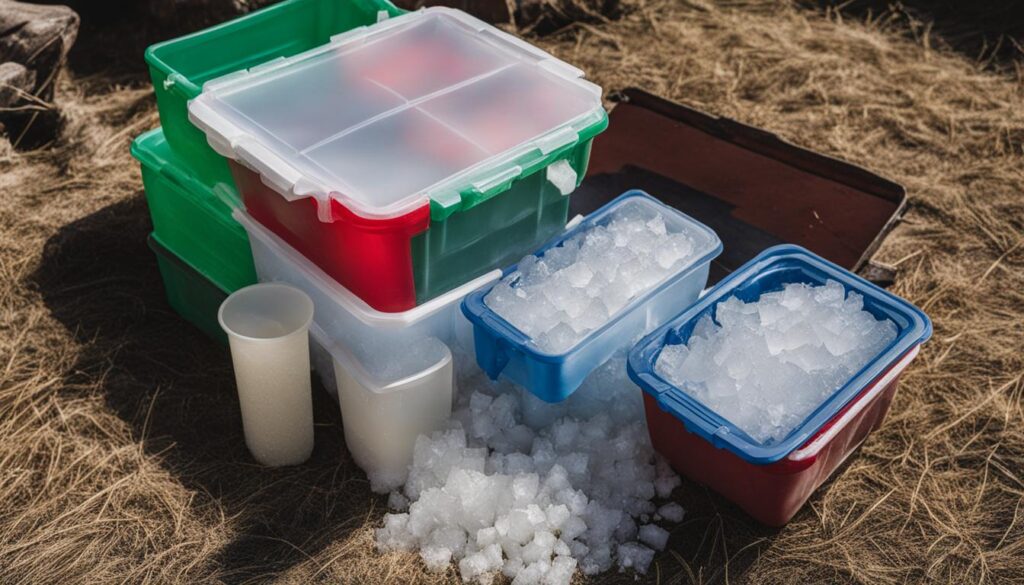
Block ice is an excellent choice for maximizing the cooling efficiency of your cooler. It lasts longer than cubed or crushed ice, thanks to its slower melt rate. By using block ice as a foundation in your cooler, you can maintain the temperature for a more extended period.
If you don’t have access to ready-made block ice, you can easily make your own at home using loaf pans or casserole dishes. Simply fill them with water and freeze until solid.

Ice Cubes for Air Pocket Filling
Ice cubes serve a dual purpose in your cooler. Not only can they be used for refreshing drinks, but they are also ideal for filling any air pockets within the cooler. This helps maximize the cooling efficiency by reducing warm air gaps and maintaining a consistent temperature throughout the cooler.
Reusable Ice Packs for Convenience
Another option to consider is reusable ice packs. These packs are colder than regular ice and don’t melt, eliminating the mess of melted icewater in your cooler. They are an excellent choice for long camping trips or when you want to minimize water accumulation in your cooler.
Aim for an Optimal Ice-to-Content Ratio
To achieve the best cooling performance, aim for an ice-to-content ratio of 2:1. This means using twice the amount of ice as the total volume of food and beverages in your cooler. This ratio ensures adequate cooling capacity and helps maintain the desired temperature for an extended period.
By carefully selecting your ice and following these tips, you can ensure that your cooler stays cold and your food and drinks stay fresh throughout your camping adventure.
Pack Your Cooler Strategically
When it comes to packing your cooler, strategic organization is key to ensure maximum efficiency and effectiveness. Here are some tips to pack your cooler strategically:
- Start with a layer of block ice or frozen food items at the bottom of the cooler. This will provide a solid foundation for cooling and help maintain a low temperature throughout.
- Pack your food in reverse order of planned use. This way, the items you need first will be easily accessible at the top.
- Separate beverages and food items. Place them on different sides of the cooler to minimize the time spent with the cooler open, preserving the cold temperatures.
- Use ice cubes to fill any air pockets in the cooler. This will help maximize cooling efficiency and prevent temperature fluctuations.
- Minimize the number of times you open your cooler. Every time you open the cooler, warm air enters, leading to faster ice melt. Plan ahead and retrieve all the items you need in a single go.
- Consider using two coolers, one dedicated to food and the other to drinks. This will further optimize organization and make it easier to locate specific items.
By following these strategic packing techniques, you can ensure that your cooler stays organized, your food stays fresh, and your drinks stay chilled throughout your camping adventure.
Additional Tips for Cooler Packing
In addition to the main tips mentioned above, there are a few more tricks you can use to pack your cooler efficiently.
- Minimize air by filling any extra space with ice or towels. This will help keep the temperature inside the cooler low and prevent the ice from melting quickly.
- Avoid draining meltwater until you can replenish the ice. The cold water actually helps to insulate the remaining ice, keeping it colder for longer.
- Limit the number of times you open the cooler. Each time you open the cooler, warm air enters and cold air escapes, causing the temperature inside to rise. Try to plan ahead and retrieve everything you need in one go to minimize the number of times you open the cooler.
- Consider using a combination of ice cubes, ice blocks, and ice packs. Ice cubes are great for filling air pockets and providing additional cooling, while ice blocks last longer and can act as a foundation for your cooler. Ice packs are colder than ice and won’t melt all over your food.
- Stay organized and have a clear plan for what items you need to access first. This will help you avoid rummaging through the cooler and exposing everything to warm air.
By following these additional tips, you can ensure that your cooler packing is efficient and effective, keeping your food fresh and your drinks chilled for longer.
To further illustrate these tips, below is a table showcasing the advantages and disadvantages of using different types of ice in your cooler:
| Type of Ice | Advantages | Disadvantages |
|---|---|---|
| Block Ice | Lasts longer than cubed or crushed ice | Takes up more space |
| Ice Cubes | Fill air pockets and provide additional cooling | Melt faster than block ice |
| Ice Packs | Colder than ice and won’t melt all over | Take up space in the cooler |
Utilize Your Cooler for Storage
After a fun-filled camping trip, your cooler can continue to serve a purpose by providing storage for your camping gear. Rather than allowing your gear to clutter your home or take up valuable space in your garage, using your cooler as storage is a smart and efficient solution.
Once your trip is over, simply empty the cooler and give it a thorough cleaning to remove any residual food or drink. This will ensure that your gear is stored in a clean and odor-free environment. After cleaning, fill the cooler with your camping equipment, such as sleeping bags, tents, cookware, and other essentials. By utilizing your cooler for storage, you can keep all your gear in one place, making it easier to locate and access when planning your next adventure.
Not only does using your cooler for storage help you save space, but it also protects your gear from dust, insects, and other potential hazards. The insulation of the cooler can provide an additional layer of protection for delicate gear, such as electronics or camping stoves. Plus, when it’s time for your next camping trip, you won’t have to worry about finding storage space and can simply grab your cooler, knowing that everything you need is already packed and ready to go.
FAQ
How do I choose the right cooler for camping?
Consider upgrading to a newer, better-insulated model with improved insulation and features like freezer-style gaskets.
How should I prepare my cooler and food before camping?
Bring your cooler inside beforehand to ensure it starts off cold, clean it thoroughly with a disinfectant spray, and pre-chill it with cold water or sacrificial ice before packing. Pre-chop vegetables, remove excess packaging, transfer items to watertight containers, and freeze meat that won’t be used on the first day. Refrigerate everything that is not being frozen before packing.
What is the best way to prepare ice for my cooler?
Block ice lasts longer than cubed or crushed ice. Freeze water in loaf pans or casserole dishes to create block ice. Alternatively, use reusable ice packs. Aim for an ice-to-content ratio of 2:1 for optimal cooling.
How should I pack my cooler strategically for maximum efficiency?
Start with a layer of block ice or frozen food at the bottom, then pack food in reverse order of planned use. Place beverages on one side and food on the other to minimize open-cooler time. Use ice cubes to fill air pockets and reduce melting. Consider using two coolers for further organization.
Are there any additional tips for packing a cooler efficiently?
Minimize air by filling extra space with ice or towels. Avoid draining meltwater until you can replenish the ice, as it helps insulate the remaining ice. Limit the number of times you open the cooler. Use a combination of ice cubes, ice blocks, and ice packs for optimal cooling.
How can I utilize my cooler for storage after camping?
Clean your cooler thoroughly and use it as storage for your camping gear. This saves space and keeps all your gear in one place.

